How To Build A Survival Shelter
When it comes to surviving in the woods, sometimes you must build your shelter out of the materials around you. Bushcraft is the skill set that allows you to make anything out of anything with the right know-how and the basics of tools. But what are some of the things that go into learning how to build a survival shelter, and what do you need to look for?
Step 1: Assess Your Environment
The terrain, weather conditions, and available resources will significantly influence the type of shelter you should build. Consider natural features like hills, trees, and rock formations that could be incorporated into your shelter or provide additional protection.
Step 2: Select the Right Location
Look for well-drained, flat ground away from hazards such as flash flood zones or falling rocks. Additionally, consider the direction of the prevailing winds and position your shelter to minimize exposure to the elements.
Step 3: Gather Materials
Having these and being able to find them are seriously important.
Tarp or Emergency Blanket:
- Lightweight and waterproof, a tarp or emergency blanket will form the primary structure of your shelter.
Paracord or Rope:
- Essential for securing your shelter and tying it to nearby objects like trees or rocks.
Branches or Poles:
- Sturdy branches or poles will provide the framework for your shelter.
Leaves, Pine Needles, or Debris:
- These materials can be used for insulation and to camouflage your shelter.
Small Tarp or Groundsheet:
- Placed on the ground inside your shelter will provide an additional barrier against moisture.
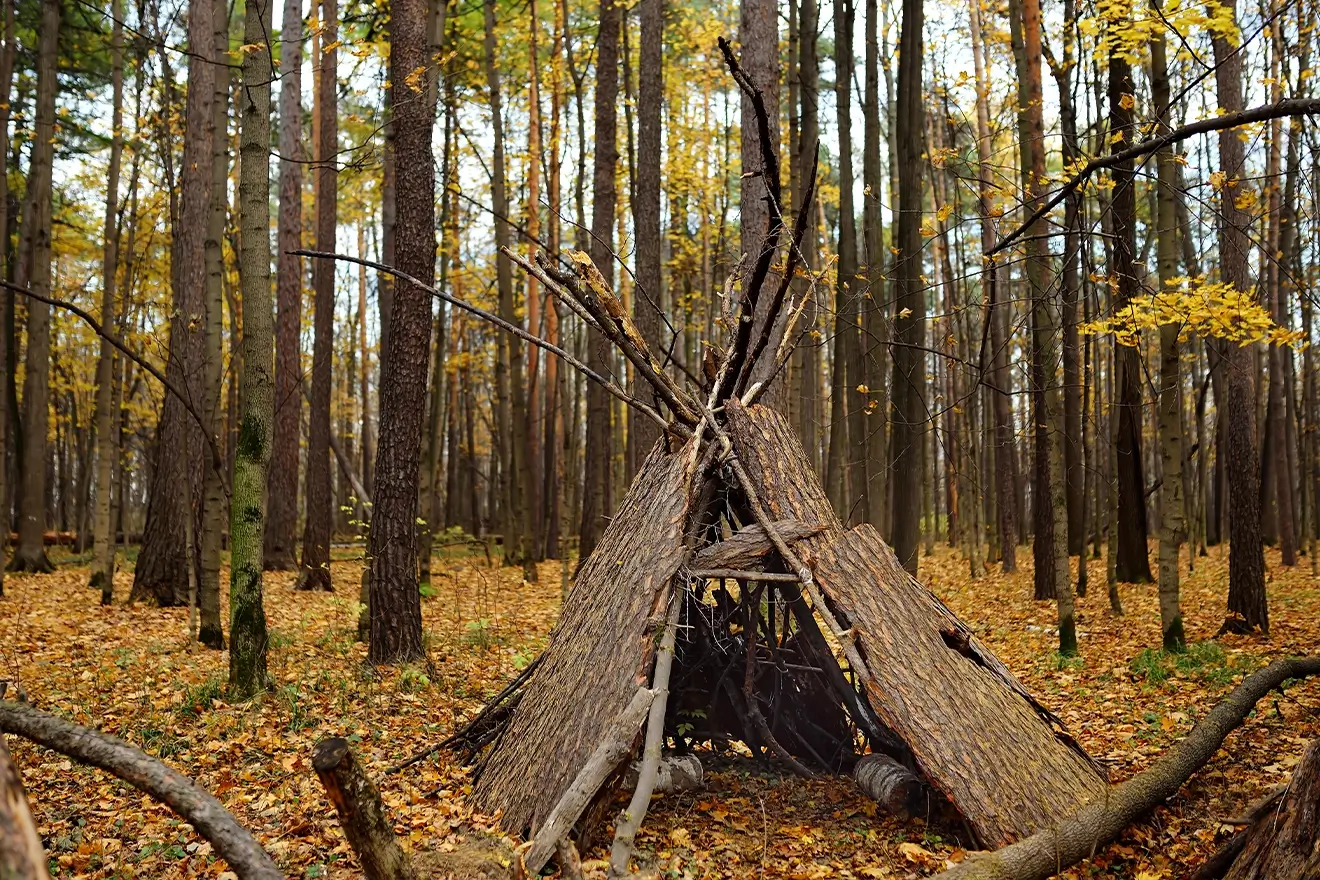
Step 4: Constructing the Shelter
Now that you have the bare minimum for making a shelter, you need to work on building.
Frame Construction:
- Lay out your tarp or emergency blanket on the ground.
- Use branches or poles to create a simple frame, forming an A-frame or lean-to structure.
- Secure the frame using a paracord or rope, ensuring it is taut and stable.
Covering and Insulation:
- Drape the tarp over the frame, leaving one side open or partially open, depending on the shelter type.
- Use additional branches or poles to anchor the sides of the tarp, creating a windbreak.
- Cover the shelter with leaves, pine needles, or debris to provide insulation.
Groundsheet:
- Place a small tarp or groundsheet inside the shelter to create a barrier between you and the ground.
Step 5: Essential Skills and Tools
Building a DIY survival shelter requires more than just materials; it requires specific skills and tools. Learn basic knots like the bowline, arbor knot, and taut-line hitch to secure your shelter effectively.
Tool Kit:
- Include a compact tool kit with a multi-tool, folding saw, and sturdy knife for cutting branches and ropes.
Fire Building:
- Master building a fire, as it can provide warmth, cook food, and serve as a signaling method.
Navigation:
- Familiarize yourself with basic navigation skills using a map, compass, or GPS device.
First Aid:
- Have a well-stocked first aid kit to address iAccessiblenjuries or medical emergencies.
Camouflage and Concealment:
- Learn how to blend your shelter into the natural surroundings to avoid detection.
Building your shelter doesn’t have to be complicated. It can be rather crude and simple. All it has to do is keep you safe from the elements and from being seen. The more you practice, however, the better and more accessible building one can be. Here’s a challenge. Next time you’re in the woods, try to make your shelter and practice the skills listed below.
To sharpen your skills and learn more about Bushcraft and how to survive in the wild, grab a copy of BushCraft 101: A Field Guide to the Art of Wilderness Survival by David Canterbury.