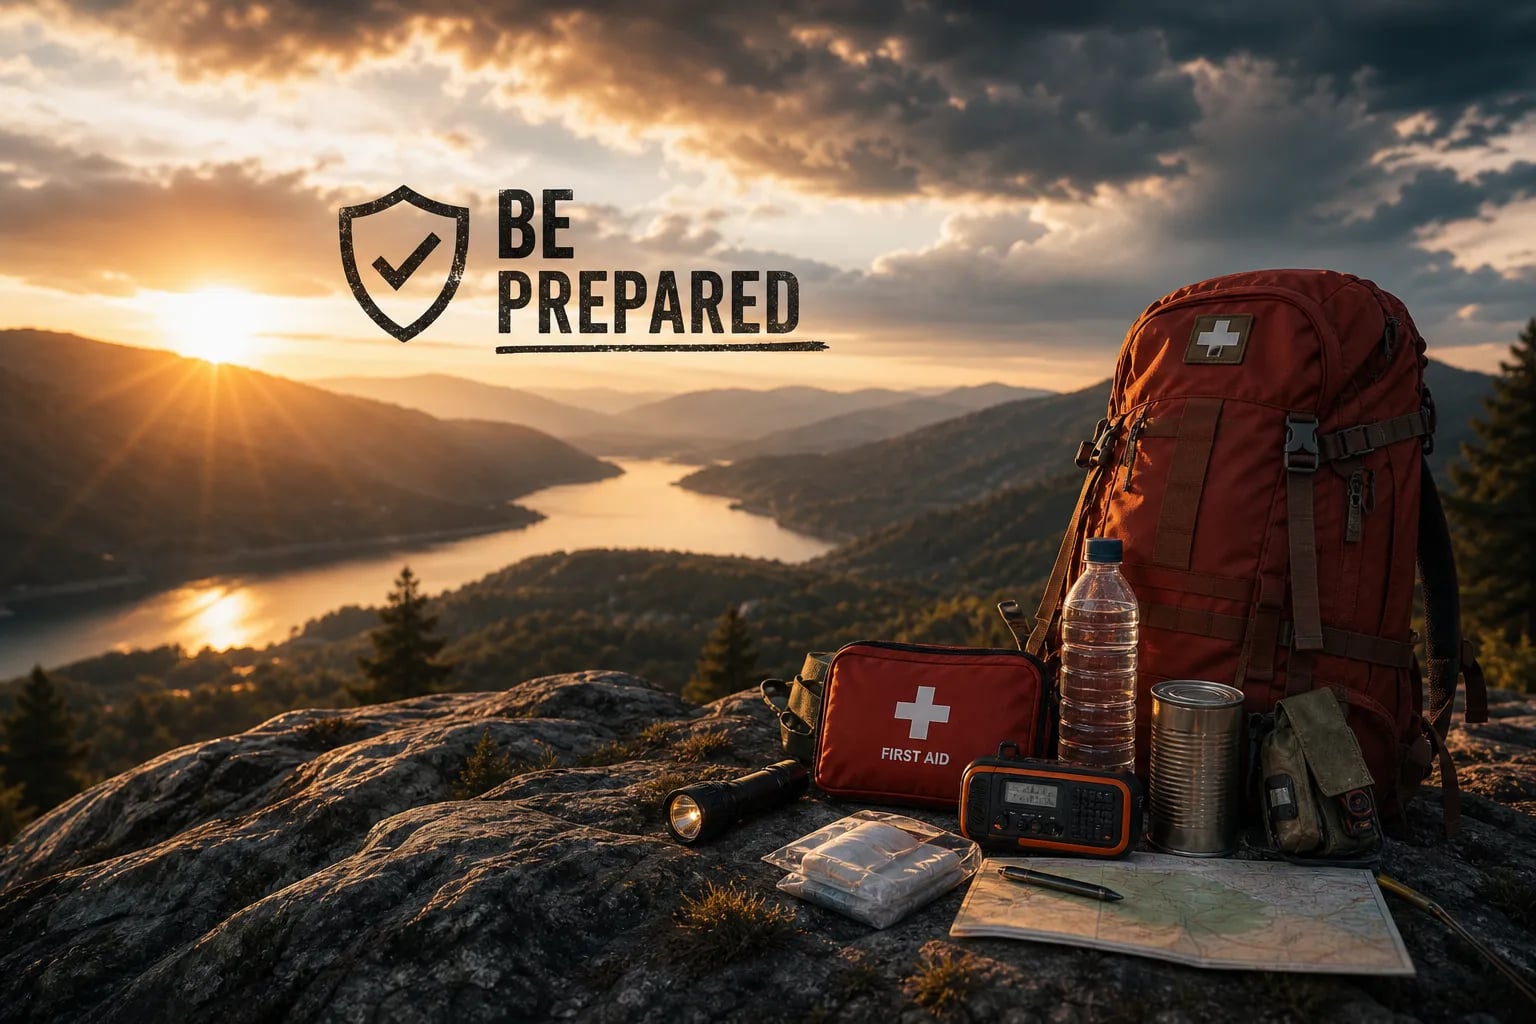
Most people make a common mistake when they start putting together an emergency preparedness kit.
They begin by buying things right away. They pick up a big first aid kit, a survival knife, water filters, emergency blankets, fire starters, a hand-crank radio, and maybe a few other gadgets they saw online that looked useful. Soon, they end up with a backpack or plastic bag full of gear, but they don’t really know what half of it is for.
An emergency preparedness kit is a collection of supplies that help you stay safe and self-sufficient when regular services aren’t available.
A good preparedness kit isn’t about how much equipment you have. It’s about having the right tools, knowing why you need them, and understanding how to use them when something goes wrong.
If you’re new to emergency preparedness, start simple. Focus on the problems you’re most likely to face and the basic needs you’ll have to meet.
Think about a winter storm that suddenly cuts off the power. Or a broken water main that leaves you without safe tap water. You might have to leave your home quickly because of a flood, or your car could break down far from help. It is unnecessary to plan for every possible disaster.
You should anticipate the difficulties that disasters cause.
The problems are often the same: not enough water or food, no electricity, trouble communicating, exposure to the weather, risk of injury, sanitation issues, and sometimes needing to leave your home. That’s where you should start when building your kit.
What items should be included in an emergency preparedness kit?
Water and Hydration
Water should be one of your top priorities.
Keep drinking water at home, and have a way to make more water safe if you run out.
Consider including:
- Bottled or stored drinking water
- Portable water filter
- Water purification tablets
- Collapsible water container
- Electrolyte drink mix
It’s important to know what your water filter can and can’t do.
Just owning a water filter doesn’t mean you know how to purify water. Read the instructions and try out your equipment before you need it.
Emergency Food
You don’t need to pack a month’s worth of food in your kit. Start with foods that last a long time, are easy to prepare, and that you actually like to eat.
Good options include:
- Ready-to-eat meals
- MREs
- Freeze-dried or dehydrated meals
- Protein or energy bars
- Nuts and trail mix
- Canned foods
- Familiar snacks
It is worth remembering that certain emergency foods, need water or a way to heat them
Light and Power
Power outages are one of the most common emergencies people face. Your kit should have at least two different ways to make light.
Consider:
- LED flashlight
- Headlamp
- Spare batteries
- Battery bank
- Charging cables
- Lantern
A headlamp is especially helpful because it lets you keep both hands free while cooking, fixing things, giving first aid, or moving around in the dark.
Get in the habit of charging your battery banks regularly. If they’re dead, they’re just expensive paperweights.
First Aid and Medications
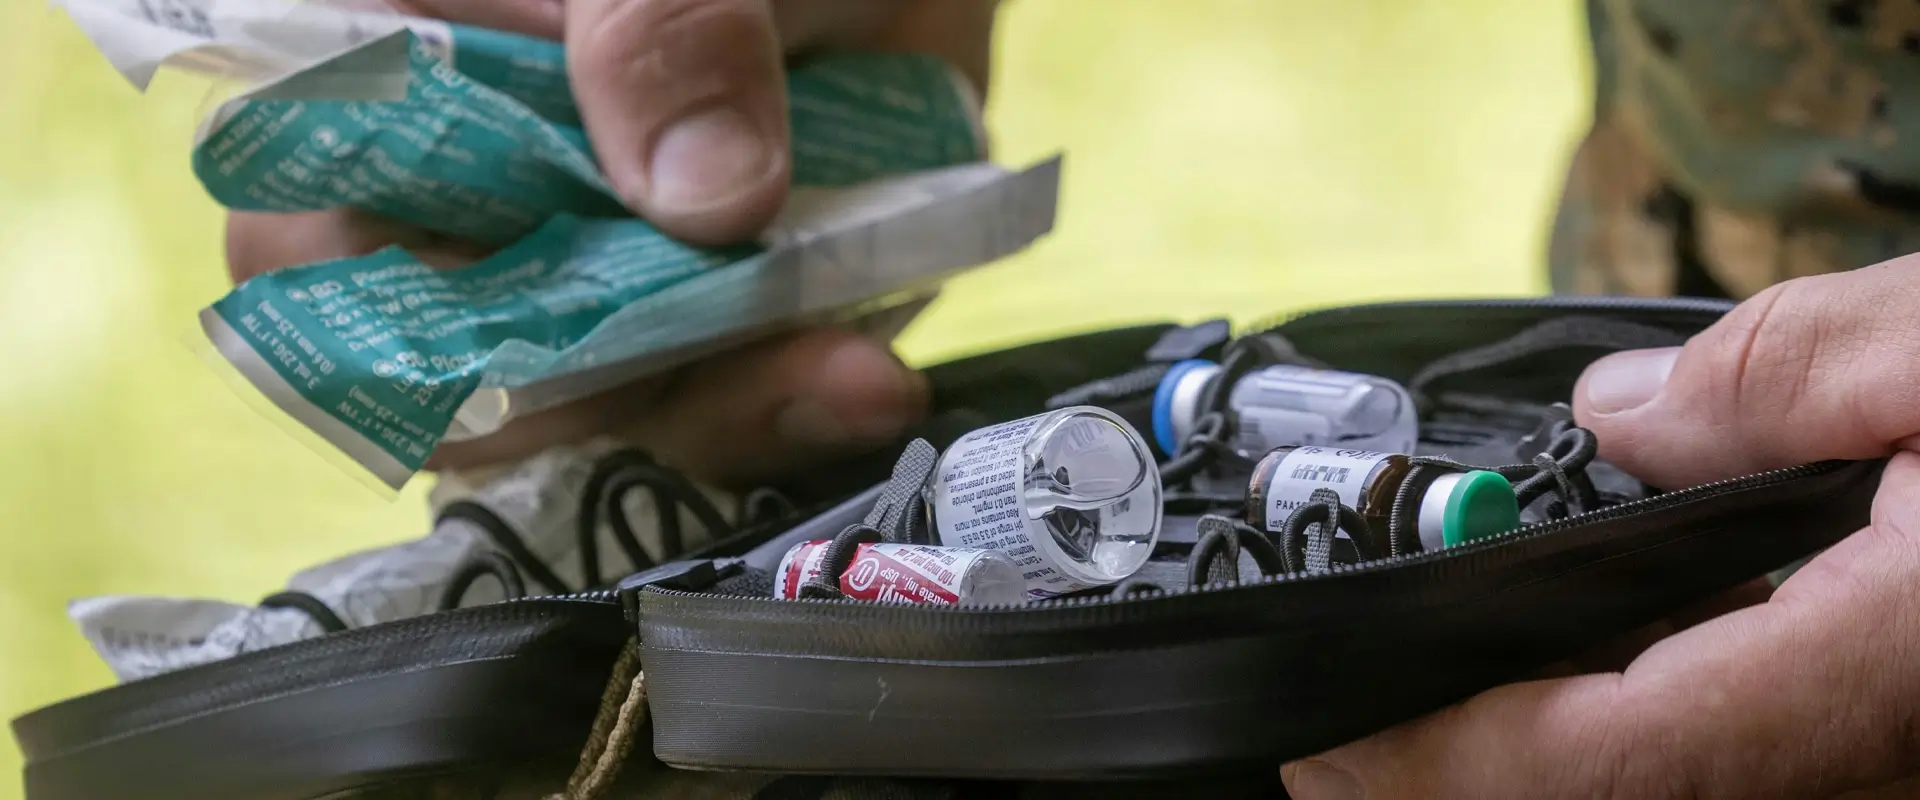
Your preparedness kit should include some basic first aid supplies. That might include:
- Adhesive bandages
- Gauze and medical tape
- Antiseptic
- Gloves
- Basic wound-care supplies
- Over-the-counter medications
- Personal medications
- Emergency medical information
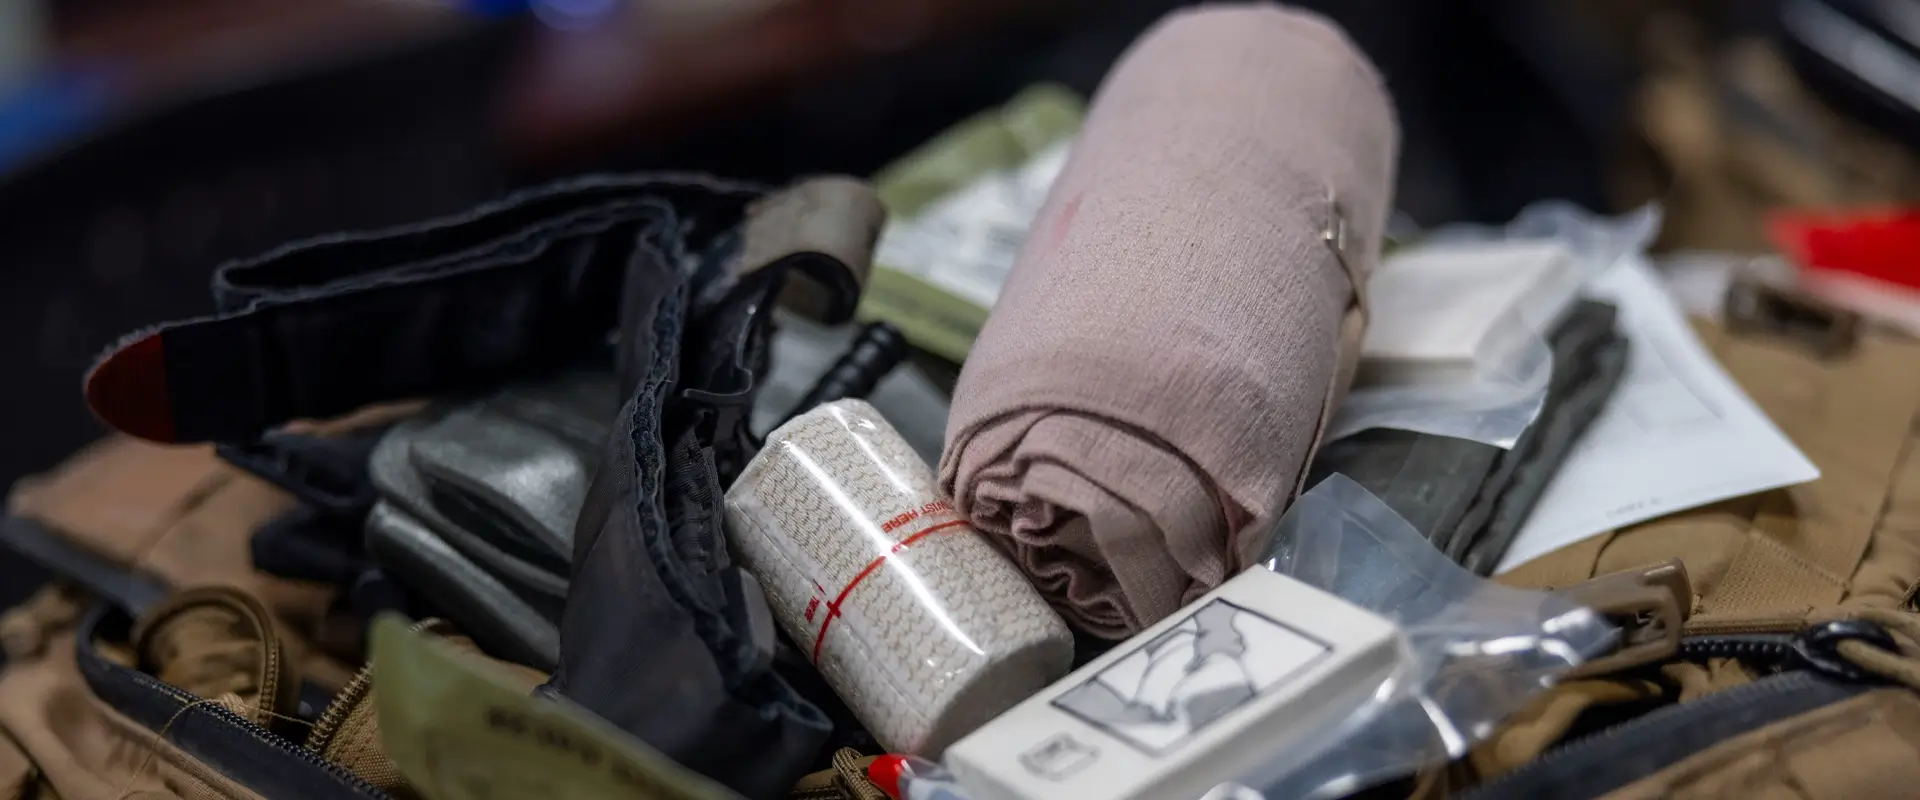
Here, knowing what to do matters more than having lots of gear. Owning a trauma kit with 200 pieces doesn’t help if you don’t know what most of them are for.
Start with first aid items you know how to use. As you learn more, consider taking a basic first aid, CPR, or bleeding control class.
Shelter, Warmth and Clothing
You can get dangerously cold much faster than most beginners expect.
Your kit should help protect you from the weather.
Depending on your location and season, consider:
- Emergency blankets
- Poncho or rain gear
- Warm layers
- Gloves and hat
- Extra socks
- Tarp
- Paracord
- Hand warmers
What you need in Pennsylvania in January is very different from what someone in Arizona needs in July.
Build your kit based on your own environment, not just what you see in someone else’s YouTube video.
Communication and Information
Your phone might still work in an emergency, but you can’t count on it.
Make sure that there are alternative methods for receiving information and for communicating.
Consider:
- Battery-powered or hand-crank radio
- Emergency contact list
- Local maps
- Notebook and permanent marker
- Whistle
- Backup phone charger
Be sure to write down important phone numbers.
Most of us stopped memorizing phone numbers back when flip phones were popular. If your smartphone stops working, your contact list goes with it.
Hygiene and Sanitation
People often overlook hygiene because it doesn’t seem exciting.
But it quickly becomes important once the plumbing stops working.
Keep basics such as:
- Toilet paper
- Wet wipes
- Hand sanitizer
- Soap
- Trash bags
- Feminine hygiene products
- Toothbrush and toothpaste
- Disposable gloves
Heavy-duty trash bags are very useful. They can hold waste, protect your gear, carry supplies, collect water, or help keep your clothes dry.
Don’t Build a Kit Full of Stuff You Can’t Use
This might be the most important rule for beginners:
Each item that is in your preparedness kit should have a specific purpose.
If you don’t know what something does, why you need it, or how to use it, just owning it won’t make you more prepared.
Picture the situation where the power fails during an ice storm in January.
One person might have $2,000 worth of survival gear but has never used their camp stove, doesn’t know how to use their radio, and finds their power bank is dead.
Another person has a flashlight, a charged battery bank, some blankets, bottled water, simple food, a working radio, and a camping stove they’ve used many times.
Who is better prepared?
It is generally the second person.
Being prepared means having the skills you need, not just a pile of supplies.
Test Your Preparedness Kit!
Once you’ve put your kit together, try using it. Try a simple preparedness drill at home.
Turn off the lights in the evening and pretend the power is out.
- Is your flashlight still there when it’s dark?
- Are you able to prepare your emergency food?
- Can you use your radio?
- Can you charge your phone?
- Do all the members of your household know where the supplies are?
You’ll learn more from a three-hour practice session than from buying another $100 of survival gear.
Preparedness Kit FAQ
How many days should the preparedness kit be designed to cover?
- A three-day supply is a good place to start if you’re new to this. Once you’ve learned the basics, you can slowly add more supplies based on your household, where you live, your budget, and the emergencies you might face.
Should I go for a ready-made preparedness kit?
- Premade kits can be a good place to start, but they’re not complete. Check everything inside, remove what you don’t need, and add supplies that fit you and your household.
Should I also have a bug-out bag?
- You don’t need a bug-out bag when you’re just starting out. Focus on building good emergency supplies at home first. Later, you can put together a smaller portable kit or bug-out bag if evacuation is likely in your area.
How frequently should you check your preparedness kit?
- Check your kit at least twice a year. Replace expired food and medicine, change the water, test electronics, charge batteries, and update clothing or supplies for the season.son.
What is the most important item in a preparedness kit?
- No single piece of equipment is a magic solution. All the essentials—water, shelter, first aid, food, light, communication—and knowing how to use your gear work together.
Start small, learn as you go, and then build up your kit.
You don’t need to spend thousands of dollars or build the perfect survival bunker right away. Start with the basics. Set up for 72 hours. Make sure you understand how each item in your kit functions. Check your setup. Spot any weaknesses. After that, improve it gradually over time.
In an emergency, the goal isn’t to have the most gear.
The goal is to know exactly what you have and how to use it!