Picture this: it’s 2 a.m., your phone screams an emergency alert, and you have fifteen minutes to evacuate. If you already had an emergency preparedness kit ready, you’d be halfway out the door. Or the power goes out on a Tuesday and doesn’t come back for six days. Or a wildfire moves faster than the forecast said it would, and the road out is already busy. In any of those moments, your only real asset is what you already have ready. Nothing you can order will arrive in time. Nothing you meant to buy will help you now.
An emergency preparedness kit is not a prepper fantasy. It’s a practical, household-level safety net that every family should have, just as every home has a smoke detector and a fire extinguisher. A well-built kit is actually useful in dozens of scenarios: power outages, winter storms, medical emergencies, evacuations, and more. This guide walks you through everything that belongs in a solid 72-hour kit and disaster supply kit: water, food, first aid, tools, communication gear, and the documents most people forget entirely. For readers near Pittsburgh, Survival Ready in Ambridge, PA, stocks most of these supplies in-store and online. By the end of this guide, you’ll know exactly what to buy, how much you need, and how to keep your family emergency kit ready year after year.
Emergency Preparedness Kit Water Checklist
FEMA and the Red Cross both use the same baseline: one gallon of water per person per day. For a 72-hour evacuation scenario, that’s three gallons per person. For two weeks of home sheltering, it’s fourteen gallons per person. A family of four needs at least twelve gallons for a three-day go-bag or home kit, and 56 gallons to cover two full weeks at home. Those numbers are the floor, not the target. Hot weather, physical exertion, nursing mothers, young children, and illness all increase daily needs. Build to the minimum, then aim to exceed it.
For storage containers, commercially sealed water jugs are the easiest and most reliable starting point. If you’re building a larger home supply, food-grade barrels with spigots work well for long-term storage. Whatever you use, the criteria are consistent: airtight, hard-sided, opaque or shielded from light, and elevated off concrete floors. Concrete pulls moisture and can introduce chemical off-gassing into water stored directly on it. Keep containers on a wood pallet, shelf, or even cardboard as a barrier, and store them away from chemicals, fuel, and direct sunlight.
Water purification is a second line of defense, not a primary plan. Purification tablets, portable filters like LifeStraw-style options, and boiling all work when your stored supply runs out or isn’t available. Stock one backup method in your kit, but don’t let it replace actual water storage. Filters fail, tablets have limits, and boiling requires fuel. Stored water is the only option that works immediately with zero effort.
Emergency Preparedness Kit: Food & Nutrition
A realistic 72-hour kit should target 1,200 to 2,000 calories per person per day. Staples that earn their spot include canned goods with pull-tab lids, peanut butter, crackers, dried fruit, nuts, protein bars, and instant oatmeal packets. Caloric density matters: you want food that packs real energy without taking up excessive space or weight. One item people consistently forget is a manual can opener. If your kit has canned food and no opener, the kit has a serious gap.
Freeze-dried and prepackaged meal pouches solve a real problem for people who don’t want to build their food supply one can at a time. ReadyWise emergency meals offer up to a 25-year shelf life, require only boiling water to prepare, and are available by the bucket for extended home supply. They’re practical, lightweight, and genuinely edible, which matters more than people expect when stress is high and cooking options are limited. Survival Ready stocks ReadyWise options both in-store and online, making them an easy addition to any kit-building order.
Map your emergency supply list to your actual household. Infant formula, baby food, diabetic-friendly options, gluten-free alternatives, and comfort foods for children are all legitimate kit items. A disaster preparedness kit stocked with food your family won’t eat under stress isn’t a safety net. It’s a box of supplies you’ll ignore when you need them most.
First Aid, Medications, and the Needs Your Kit Can’t Ignore
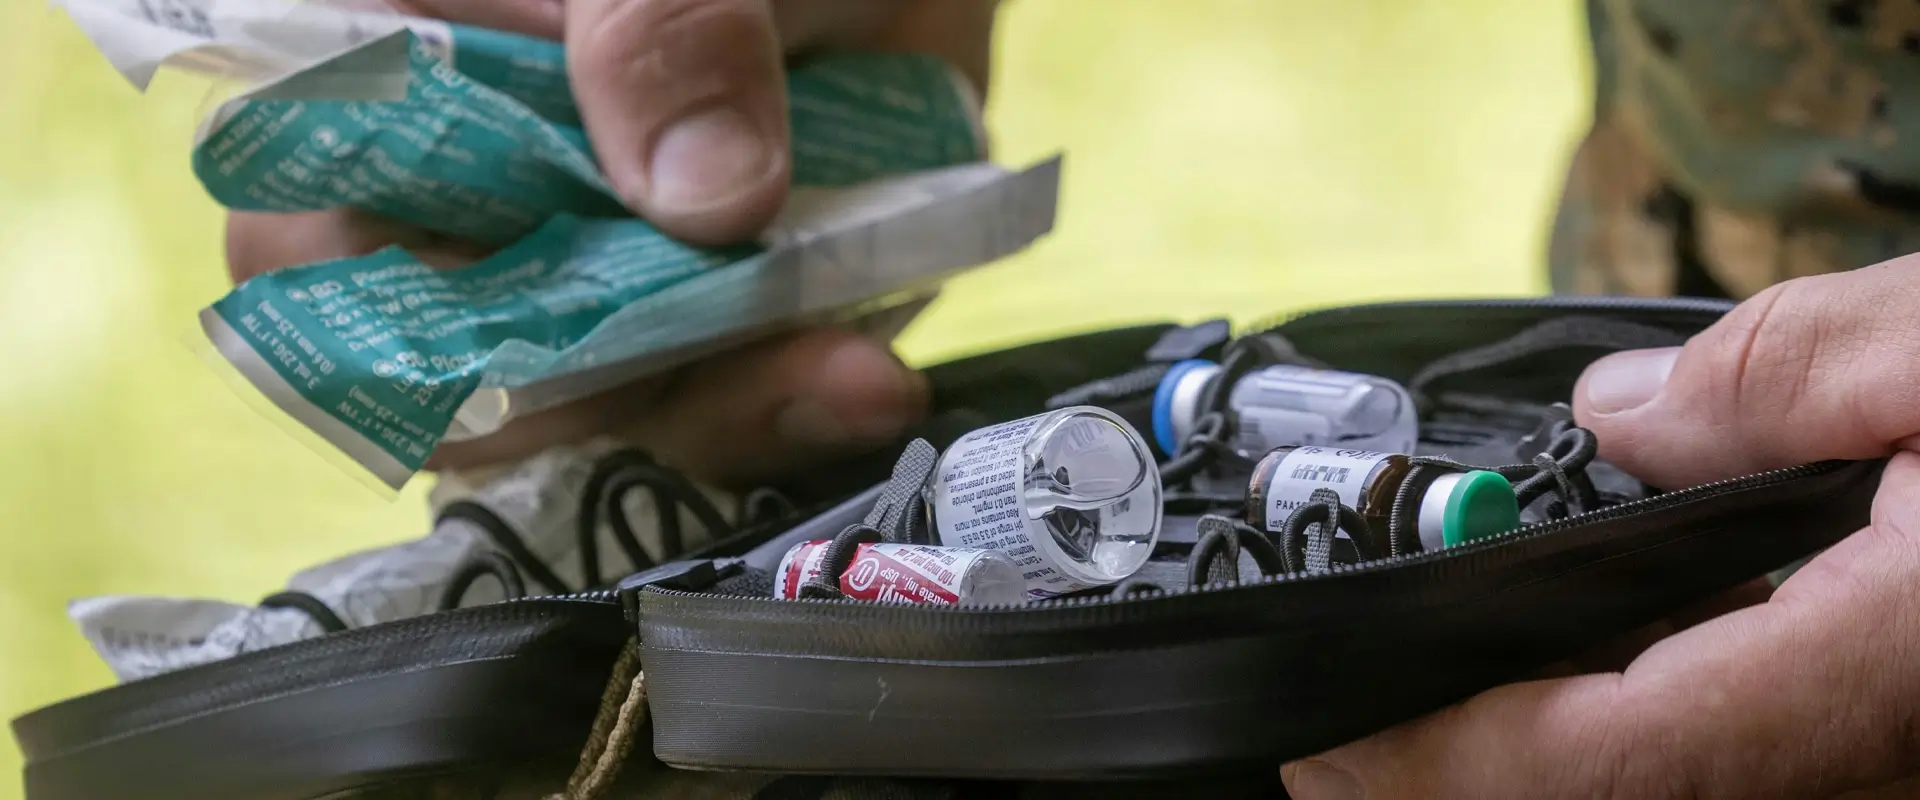
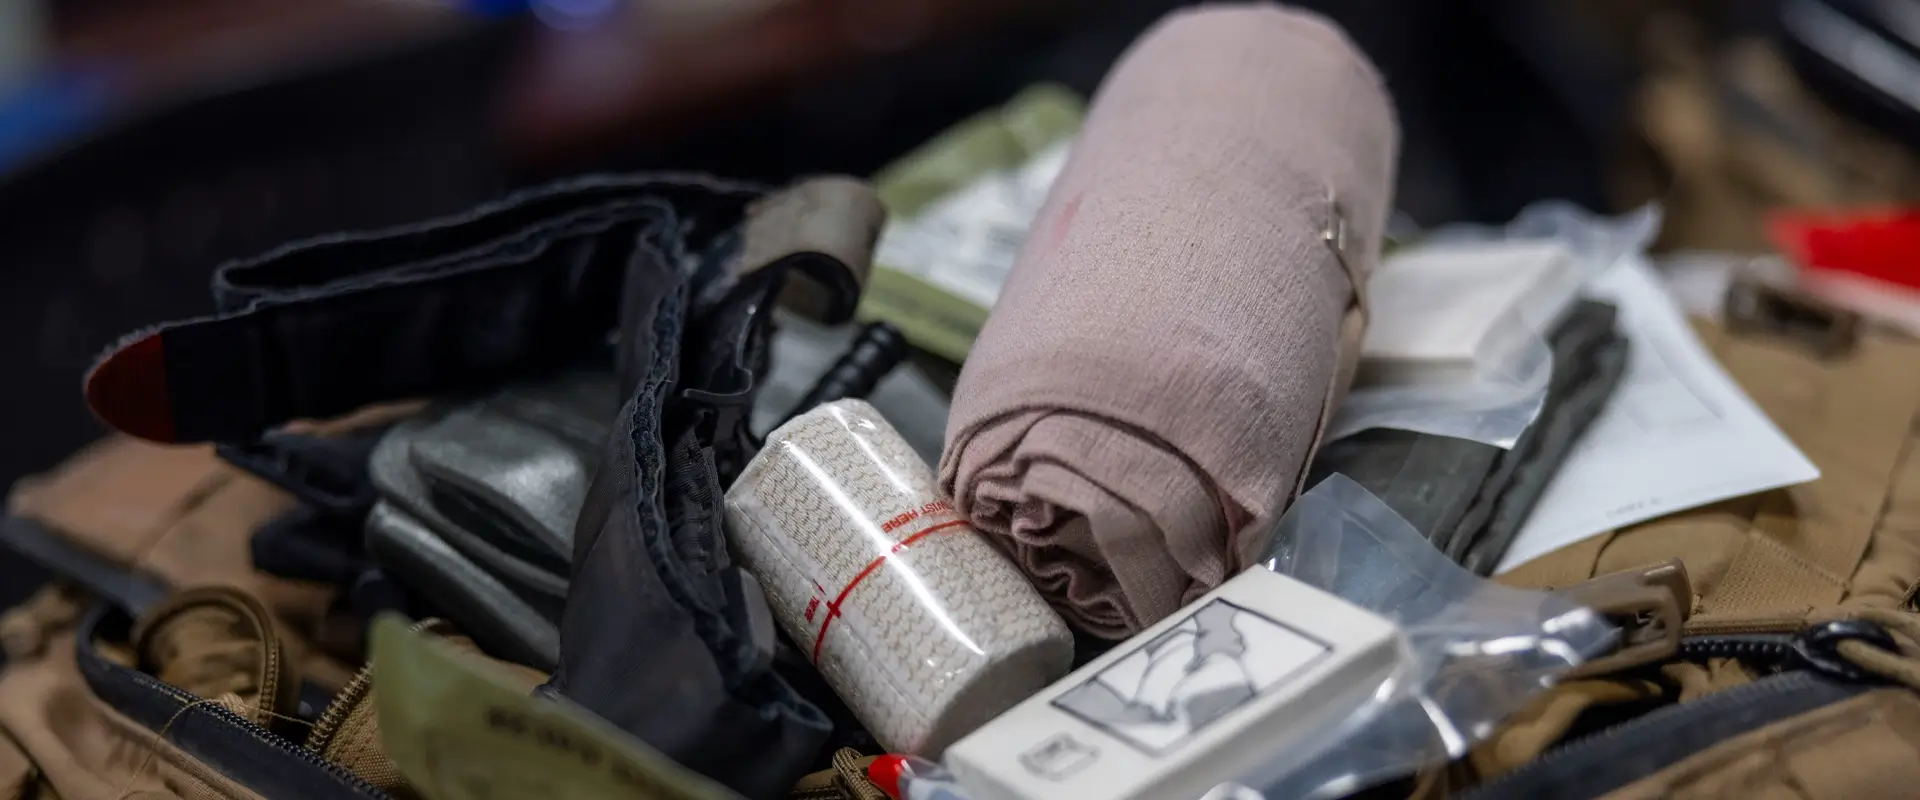
The core first aid supplies that Ready.gov and the Red Cross recommend include sterile gauze, adhesive bandages in multiple sizes, antiseptic wipes, antibiotic ointment, burn cream, latex gloves, scissors, tweezers, a thermometer, pain relievers, antidiarrheal medication, antacids, and a printed first aid manual. A basic kit handles minor injuries. A complete kit also addresses more serious emergencies, which means including materials for wound management, splinting, and allergic reactions.
Prescription Medications
Prescription medications are the category most households handle last, and that’s a mistake. Keep a rolling 7-to-10-day supply rotated through the kit, stored in a labeled medication organizer alongside printed medication lists and dosing instructions. Blood glucose monitor supplies, EpiPens, asthma inhalers, and any oxygen-related equipment belong in the kit for anyone who depends on them. Print the medication list and keep a physical copy with the supplies, not just on your phone. Phones die.
Infant, Elder, and Pet Needs
Infants, elderly family members, and pets each require targeted additions to the base kit. For infants: a thermometer, nasal aspirator, age-appropriate pain reliever, diaper cream, and formula. For elderly or mobility-limited family members: spare eyeglasses, hearing aid batteries, incontinence supplies, and any documentation related to mobility aids or medical devices. For pets: a 3-day food and water supply, vet records, ID tags, and any regular medications, with a 1-month supply of flea, tick, and heartworm preventatives if applicable. Think of these as targeted additions to your base kit, each one filling a real gap without requiring a separate kit for every household member.
Tools, Light, and Communication Gear
LED flashlights with extra batteries are non-negotiable in any emergency kit checklist. A battery-powered or hand-crank lantern adds area lighting when a flashlight isn’t enough. Keep a fully charged power bank in the kit for phones, aim for 10,000 to 20,000 mAh to cover multiple charges, and make a habit of topping it off every month. Solar charging panels work as a supplementary option but aren’t reliable enough to serve as your only backup power source.
The hand tools Ready.gov recommends are practical and specific: an adjustable wrench or pliers for shutting off utilities, a multi-tool, and a whistle for signaling. Plastic sheeting, duct tape, and scissors let you seal a room against airborne hazards during a shelter-in-place scenario. N95 dust masks belong on the same list, stored separately and clearly labeled. These items are inexpensive and take up almost no space, which makes their absence in most home kits hard to understand.
Emergency Preparedness Kit Communication Gear
A battery-powered or hand-crank NOAA weather radio is the one communication tool that functions when cell networks are jammed or down. The Midland WR120B is a strong home-kit choice for county-specific SAME alerts. The Midland ER310PRO or a FosPower A1 work well for portable or extended-outage use. NOAA alerts provide real-time information about severe weather, evacuation orders, and disaster updates, information you can’t count on a phone to deliver during a major event.
In the same kit section, store waterproofed copies of IDs, passports, insurance cards, medical records, emergency contacts, and property documents in a sealed waterproof bag or folder. A USB thumb drive with digital backups is a practical addition. Keep originals in a fireproof safe at home and copies in the kit.
How to Store and Maintain Your Kit So It’s Ready When You Need It
A kit stored in the wrong conditions fails before you ever open it. The target environment is cool (59 to 77°F), dry, dark, and stable, away from temperature swings, exterior walls, direct sunlight, and damp spaces like uncontrolled basements or garages. Use airtight, gasket-sealed, hard-sided plastic bins with opaque walls to protect contents from light. Keep the kit accessible, not buried behind seasonal items that take twenty minutes to move. If you can’t get to it in an emergency, it doesn’t work as a kit.
Every six months, rotate out food and water within six months of expiration, replace batteries, and check medication dates. A full annual review covers gear testing (flashlights, radio, tools), document updates, and a reassessment of your household’s current needs. Family size changes. Medical needs change. The kit should reflect who’s actually in the house. Tie both check-ins to daylight saving time changes for a built-in biannual calendar anchor that’s easy to remember.
Apply FIFO (first-in, first-out) to every perishable item in the kit. Newer supplies go to the back; older supplies come to the front for use or replacement. This applies to food, water, batteries, and medications. A kit maintained on FIFO never becomes a graveyard of expired supplies, and you’re never surprised by a flashlight that won’t turn on or food that’s two years past its date.
Build Your Own or Buy Prebuilt: The Honest Breakdown
Budget prebuilt kits in the $40 to $80 range cover the basics for one to two people but often include generic or lower-durability items. Mid-range kits between $100 and $250 offer more complete coverage for families and typically include better tools and food quality. Premium kits above $300 reduce assembly time significantly and use higher-quality components, but they still miss household-specific needs. Prescriptions, infant supplies, and pet supplies are almost never included at any price point.
Building your own emergency preparedness kit gives you full control over quality and customization, and it’s often cheaper than a comparable prebuilt option at the mid-range tier. The trade-off is time and the real risk of leaving gaps when you’re assembling dozens of items without a structured process. Work through this guide’s categories one section at a time rather than trying to buy everything in a single session. That approach prevents the paralysis that turns kit-building into a project that never gets finished.
The most practical approach for most households is a hybrid: buy a solid mid-range prebuilt kit as a foundation, then replace weak items and add personal essentials over the following weeks. For readers near Pittsburgh, Survival Ready carries prebuilt kits, individual survival gear, and emergency supplies, available in-store on Merchant Street in Ambridge or online with free shipping on orders over $100. The staff knows this category well and can help you identify the gaps a generic kit always leaves behind.
Emergency Kit Checklist: What to Pack
- Water: 1 gallon per person per day (minimum 3-day supply); water purification backup
- Food: 3-day supply of non-perishable items (canned goods, protein bars, freeze-dried meals); manual can opener
- First aid: Gauze, bandages, antiseptic wipes, antibiotic ointment, burn cream, gloves, thermometer, pain relievers, antidiarrheal medication
- Medications: 7-to-10-day prescription supply, EpiPen, inhaler, printed medication list
- Light & power: LED flashlight, lantern, extra batteries, 10,000, 20,000 mAh power bank
- Tools: Multi-tool, adjustable wrench, whistle, duct tape, plastic sheeting, N95 masks
- Communication: NOAA weather radio (battery or hand-crank)
- Documents: Copies of IDs, passports, insurance cards, medical records, emergency contacts in a waterproof bag
- Household-specific: Infant formula, pet food and records, hearing aid batteries, spare eyeglasses
Start Now, Refine Later
Building an emergency preparedness kit is a process, not a single purchase. The households that handle emergencies best aren’t the ones with the most expensive gear. They’re the ones who built something, maintained it, and kept it accessible. Every category in this guide is a step you can take this week, even if it’s just buying water today and adding food next weekend.
The best kit is the one you actually build, not the perfectly optimized one that stays on a to-do list for another six months. Start with water, add food, then work through first aid, tools, and documents at whatever pace your budget and schedule allow. Come back every six months and improve what’s there. That rhythm is what separates real preparedness from good intentions.
Being prepared isn’t about fear. It’s about knowing you’ve already taken care of your people before the situation demands it. Survival Ready carries most of what this guide covers, both in-store in Ambridge and online, whether you’re starting from zero or filling in the gaps you know you have. The prepared are ready before it matters.
Frequently Asked Questions
What should be in an emergency preparedness kit?
A complete emergency preparedness kit should include at minimum a 3-day water supply (1 gallon per person per day), non-perishable food, a first aid kit, prescription medications, a flashlight with extra batteries, a NOAA weather radio, important documents in a waterproof bag, and household-specific items for infants, elderly family members, or pets.
How long should an emergency preparedness kit last?
The standard recommendation is a 72-hour (3-day) kit for evacuation scenarios. For home sheltering, FEMA recommends building toward a 2-week supply. Many preparedness experts suggest extending to 30 days for households with the space and budget to do so.
What is the difference between a go-bag and a disaster supply kit?
A go-bag (also called a bug-out bag) is a compact, portable kit designed for quick evacuation, typically covering 72 hours for one or two people. A disaster supply kit is a broader, home-based collection of survival supplies covering an extended period, often two weeks or more, typically stored in larger containers that aren’t meant to be grabbed and carried quickly.
How often should I update my emergency preparedness kit?
Review your kit every six months. Rotate food and water as they approach expiration, replace batteries, and check medication dates. Conduct a full annual review to test all gear, update documents, and reassess your household’s needs. Tying these check-ins to daylight saving time changes makes them easy to remember.
Is it better to buy a prebuilt kit or build my own emergency preparedness kit?
Both approaches have merit. Prebuilt kits offer convenience and a solid baseline, but they rarely include prescription medications, infant supplies, or pet essentials. Building your own family emergency kit gives you full control over quality and customization. For most households, the best strategy is a hybrid: start with a mid-range prebuilt kit and add personal and household-specific items over time.